Ever bought a sofa that felt perfect in the showroom, only to have it swallow your living room whole? Or picked a rug that ended up looking like a postage stamp on the floor?
That’s exactly why professional interior designers obsess over measurements. A beautiful piece of furniture or décor only works if it fits the space—and the space fits around it. The good news? You don’t need a design degree to get it right.
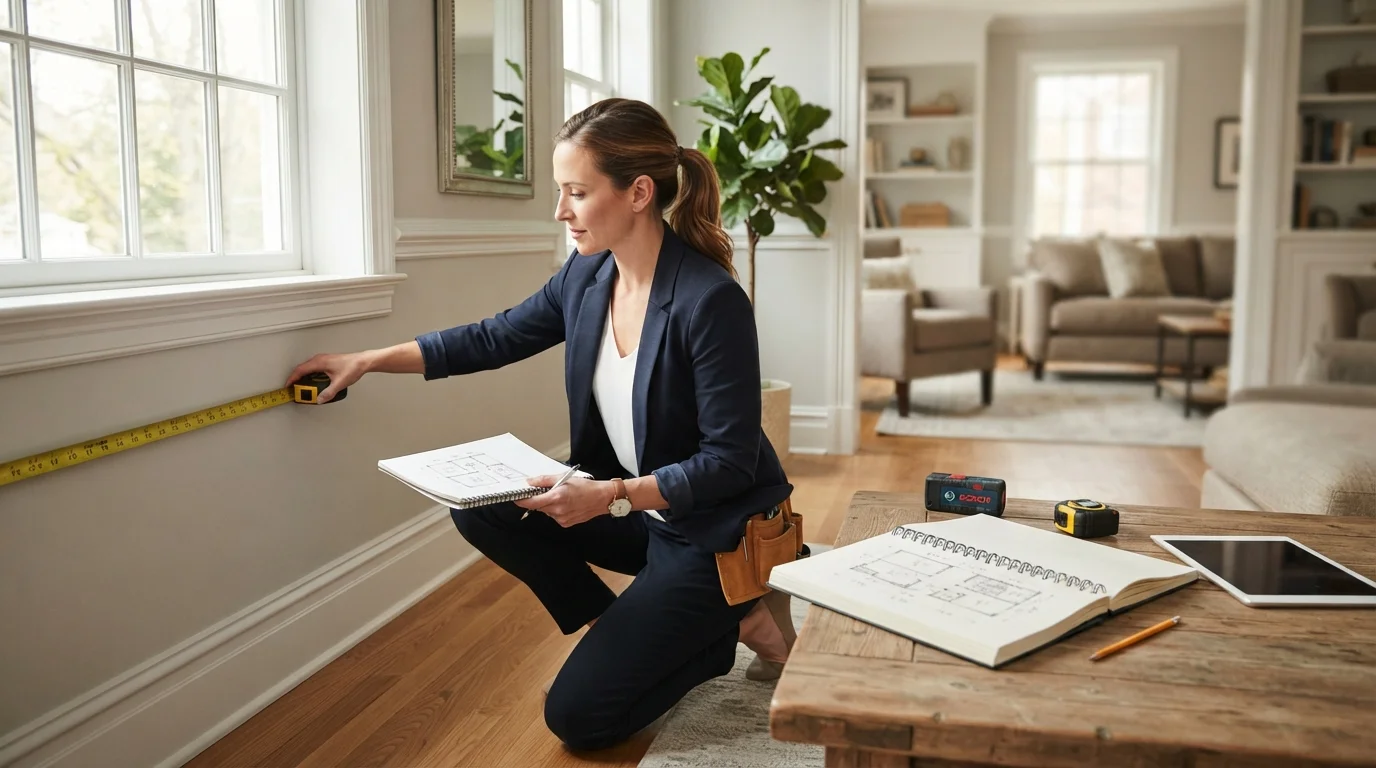
In this guide, I’ll walk you through how to measure rooms like a professional interior designer, using the same techniques I’ve refined over 15 years of designing homes for clients. We’ll cover tools, tricks for tricky spaces, and even what to do once you have those numbers in hand.
Why Measuring Matters (Beyond Just “Does It Fit?”)
Measurement isn’t just about avoiding an awkwardly tiny armchair. It’s the foundation of smart space planning. When you know the exact dimensions of your room, you can visualize circulation paths, decide on furniture scale, and even plan lighting placement.
Professional designers measure for three things: function, flow, and proportion. A room that’s technically large can feel cramped if the sofa is too deep. A small bedroom can feel spacious with the right bed size and clearance. Every good design starts with a tape measure.
For a deeper look at how to apply these measurements in real layouts, browse the best articles on home design over at the Sansouka blog—you’ll find practical guides for every room.
Tools You Actually Need (Skip the Fancy Gadgets)
You don’t need a laser rangefinder, a 3D scanner, or a smartphone app that promises magic. Here’s what I’ve used on every single project:
- Standard 25-foot tape measure (one that stays rigid when extended)
- Graph paper and a pencil (yes, still the best tool for quick drafts)
- Notebook for writing down numbers—never trust your memory
- A helper (or a piece of painter’s tape to hold the end of the tape in place)
Pro tip: laser measurers are nice for long walls, but they fail on dark or reflective surfaces. A tape measure never lies.
If you’re also working on outdoor spaces like patios or decks, check out the outdoor living design section for tailored tips on furniture spacing and traffic flow.
Step 1: Measure the Floor Plan (The Right Way)
Start by drawing a rough sketch of your room. Don’t worry about artistic quality—just get the shape right. Include every wall, door, window, and architectural feature like columns or alcoves.
Now, measure each wall from corner to corner at floor level. Write the dimension directly on your sketch. Then do the same at ceiling height—sometimes walls aren’t perfectly straight, and the difference matters if you’ll install shelves or cabinets.
Don’t forget to measure the floor-to-ceiling height. An 8-foot ceiling vs. a 10-foot one changes everything, from curtain length to how large a chandelier you can hang.
Step 2: Capture Doors, Windows, and Obstructions
Doors and windows aren’t just holes in the wall—they influence furniture placement. For each door, measure:
- Width and height of the door slab
- Distance from the door edge to the nearest corner
- Which way the door swings (inward, outward, sliding)
For windows, measure the width, height, and distance from the floor and ceiling. Also note the depth of any window sill or ledge.
An important tip that many homeowners miss: measure the depth of baseboards and crown molding. An extra 1–2 inches of molding can affect where a sofa sits against a wall.
Following a thorough interior design measuring guide like this prevents those “oops” moments during delivery day. Consistent measurements across all rooms also help you plan a cohesive flow throughout your home.
Step 3: The Diagonal Trick (Gold for Room Layouts)
Here’s a secret from pro designers: measure the diagonal of your room. Go from one corner to the opposite corner across the room. Why? Because it helps you check if your room is truly rectangular—and it tells you the maximum width of any furniture piece you can bring through a doorway.
If that diagonal measurement doesn’t match what you’d get from solving the Pythagorean theorem (a² + b² = c²) using your wall lengths, your room is out of square. It’s common in older homes. Knowing this early saves you from ordering a custom sofa that won’t line up with your walls.
For reference, here’s a cheat sheet of standard furniture clearances that designers use:
| Furniture or Zone | Recommended Clearance |
|---|---|
| Walkway between furniture | 30–36 inches (76–91 cm) |
| In front of a sofa (coffee table space) | 14–18 inches (36–46 cm) |
| Dining table to wall (chair pulled out) | 36–42 inches (91–107 cm) |
| Bedroom: edge of bed to wall | 24–30 inches (61–76 cm) |
| Kitchen: island to counter | 42–48 inches (107–122 cm) |
If you need more guidance on how to adapt these clearances for unusual room shapes, the space planning resources at Sansouka cover tricks for L-shaped rooms, narrow hallways, and open floor plans.
Step 4: Transfer Your Measurements to a To-Scale Floor Plan
Now it’s time to turn those raw numbers into a real tool. On your graph paper, let one square equal 1 square foot (or 0.5 feet if your room is large). Draw the walls with the same proportions as your sketch. Mark windows, doors, radiators, vents, and electrical outlets.
Use a pencil—you’ll erase a lot. And always write the dimensions next to each wall again, even on the clean version. You’ll thank yourself later when you’re shopping online and need to decide between a 72-inch sofa and a 78-inch one.
Many designers now use digital tools like Floorplanner or SketchUp Free. If you’re tech-savvy, these make it easy to drag-and-drop 3D furniture models into your measured space. But for most homeowners, a paper plan plus the measurements in your notebook is 80% as effective.
Step 5: Measure for Furniture (The “Double-Take” Rule)
You know a piece of furniture’s width and depth. But do you know its delivery path? Measure your doorways, hallways, stairwells, and elevator dimensions. I once saw a gorgeous sectional get stuck halfway down a spiral staircase because no one measured the turn radius.
Always double-check: measure the free space in the room after subtracting the clearance needed for traffic. For example, a 12 x 14 foot living room might seem perfect for a 7-foot sofa—until you subtract 3 feet for a walkway behind it, and you’re suddenly cramped. Always measure the current furniture arrangements in your room to compare.
For those who want a complete system for measuring every room in their home—from the master bedroom to the hallway bookshelf—check out the comprehensive home design guides for a full walkthrough of choosing the right dimensions for each space.
Step 6: Photograph Everything—and Add a Reference Object
This isn’t exactly measuring, but it’s a pro tip for context. Take photos of each wall straight-on (not at an angle). Include a known-size object like a door, a tile, or even a yardstick placed vertically in the shot. That way, when you’re shopping in a store, you can quickly estimate if something will work with the proportions of the room.
You can also use photo apps that let you overlay measurement lines onto the image. I recommend MagicPlan or RoomScan—both are reliable and free for basic use.
If you’re planning a garden path or an outdoor seating area, get inspired by expert gardening and outdoor design guides for tips on scaling furniture and planting beds.
FAQ: Common Questions About Measuring Rooms for Interior Design
1. What’s the biggest mistake homeowners make when measuring a room?
Not accounting for baseboards and trim. A wall might be exactly 12 feet from drywall to drywall, but once you add ¾-inch baseboards on each side, a 12-foot sofa won’t fit flush against the wall. Always measure from finished surface to finished surface.
2. Should I measure in inches, feet, or metric?
Stick with the unit used by furniture stores in your region. In the U.S., use inches and feet. In Europe and most of the world, use centimeters. Mixing units is a recipe for painful math errors.
3. How do I measure an L-shaped room or a room with a slanted ceiling?
Break the room into rectangles. Measure each rectangle separately, then add them together for total floor area. For slanted ceilings, measure the height at the lowest and highest points, and note where the slant starts. That affects bed or headboard placement.
4. Do I really need to measure doorways?
Absolutely. A sofa that’s 80 inches wide won’t fit through a 76-inch doorway. Measure the width of the door opening after removing the door slab if possible. Don’t forget to check elevator and stair landing dimensions for multi-floor homes.
5. What if my room isn’t a perfect rectangle?
That’s normal in older homes. Use the “longest wall” approach: measure the overall length and width at the longest points, then measure wall segments individually. Use your graph paper to piece together the real shape.
6. Can I rely on a smartphone app? Some claim to be super accurate.
Use them as helpers, not replacements. The LiDAR-equipped iPhone 12 Pro and newer are surprisingly good (+/- 1 inch on large rooms). But for critical dimensions—like a sofa width—always confirm with a manual tape measure. A 1-inch error can make or break a layout.
7. How do I know if a rug is the right size for my room?
A good rule for living rooms: leave 12–18 inches of bare floor between the rug edge and the wall. For dining rooms, the rug should extend at least 24 inches beyond the table on all sides so chairs don’t fall off when pulled out.
Conclusion: Measure Once, Design with Confidence
Learning how to measure rooms like a professional interior designer doesn’t require expensive tools or years of training. It just requires patience, a tape measure, and a willingness to write down the numbers. Once you have those dimensions on paper or screen, everything else—furniture selection, rug placement, lighting—comes together naturally.
Your home is a three-dimensional puzzle. Every door, window, and corner is a clue. When you measure with precision, you unlock the ability to design a space that feels both beautiful and completely livable. Keep your graph paper handy, block out an hour, and walk room by room. Your future self (and your furniture delivery team) will thank you.